This post will reply to a request made by a dev who accessed my talk Aplicativos híbridos com Ionic. Você também pode começar a desenvolver agora! (Hybrid applications with Ionic.You can also start developing now!). He was unsure of how to set up the environment to develop for Android.
So let’s get right down to business.
- Of course we need the Ionic and Apache Cordova, if you have not installed them, let’s do it.
- Both are Node packages and so we need the Node installed. Download from https://nodejs.org/en/download/.
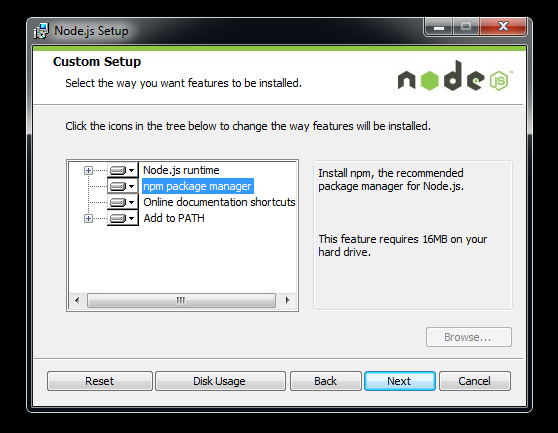
- In the installation NPM is required, do not remove it.
*You don’t know what is Node and NPM, visit http://nodebr.com/o-que-e-a-npm-do-nodejs/
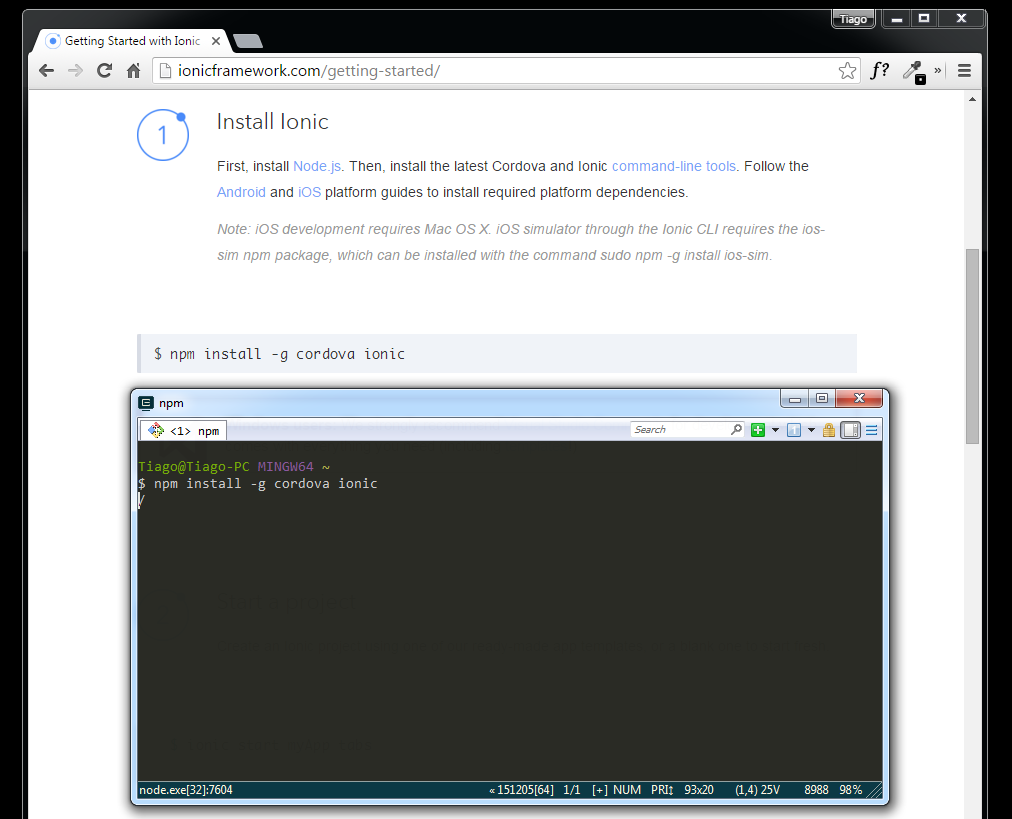
- With the Node installed, now we open the terminal and install the Ionic and Cordova.
- We begin setting up the environment for Android. We will install the Java JDK.
- Access the link http://www.oracle.com/technetwork/java/javase/downloads/index.html, select JDK download, download the version compatible with your OS (32 or 64 bits). See the path where you installed, it will be needed at the next step.
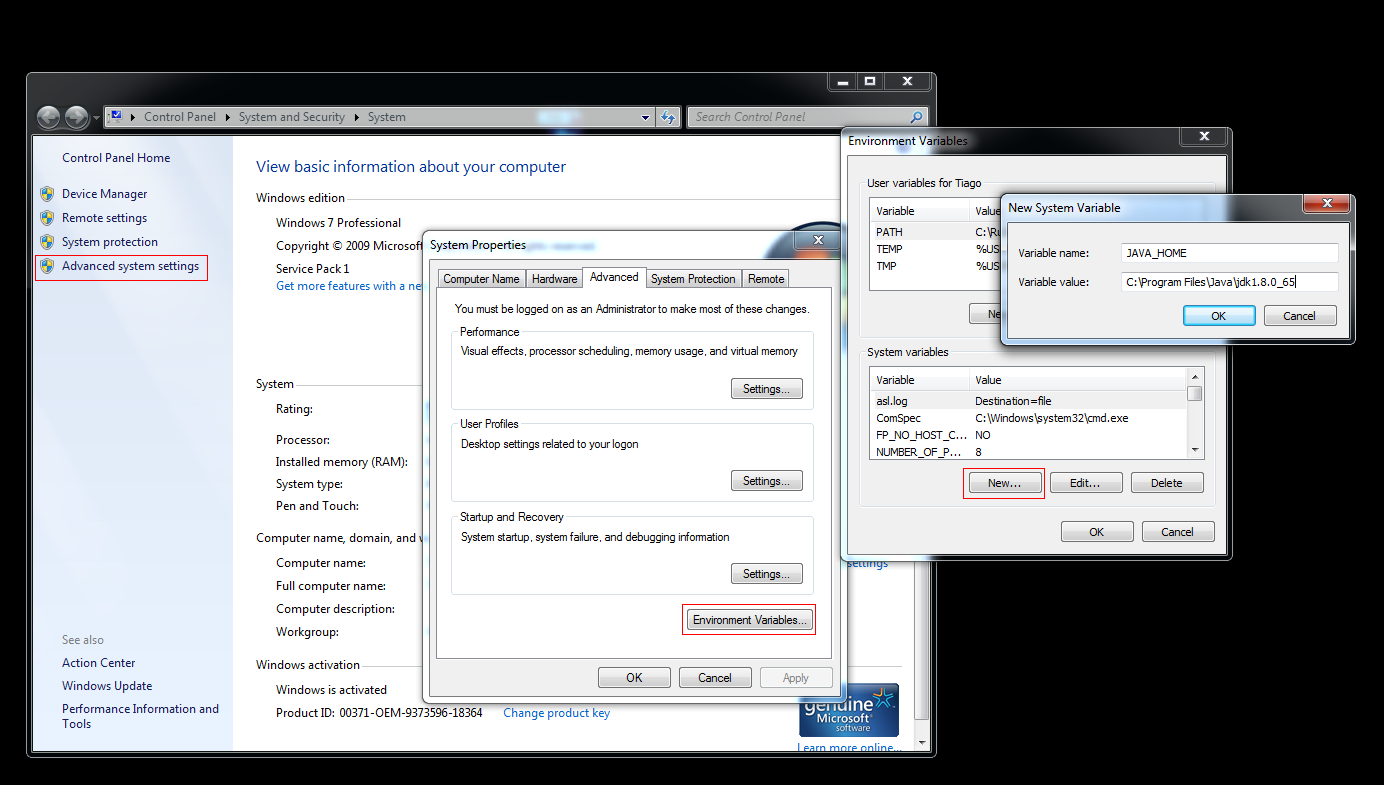
- Now let’s create the JAVA_HOME variable in the Windows environment. Open the System screen using the “windows + pause / break” or go to “Control Panel / System and Security / System”.
- Click “Advanced System Settings”.
- Select Environment Variables.
- Select New environment variable.
- In the new window, in the name of the variable place JAVA_HOME, and in the value put the path where you installed the JDK. For example, C:\Program Files\Java\jdk1.8.0_65. Click OK.
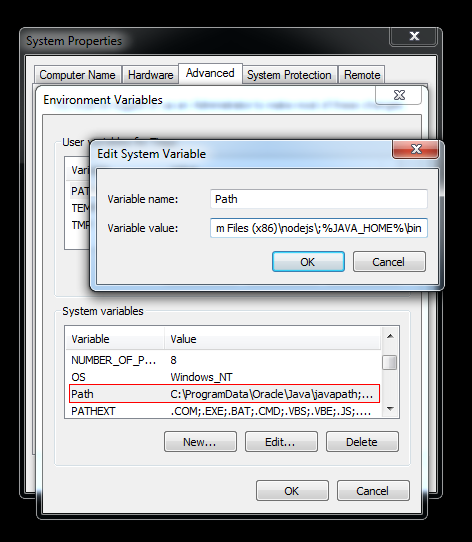
- Select the path variable, and click edit. Again, a window will open with the variable data. In the variable field values, go to the end of the string and add ;%JAVA_HOME%\bin. Do not forget the “;”.
- With Java configured, now we need the Apache Ant, responsible for making the build of our application. Download at the link http://ant.apache.org/bindownload.cgi.
- After finished downloading, extract the directory to the root of C:.
- Again we need to update the path variable to add the Ant. Open the environment variables from Windows again.
- Abra as variáveis de ambiente do windows novamente.
- Select Environment Variables.
- Select the path variable and click edit.
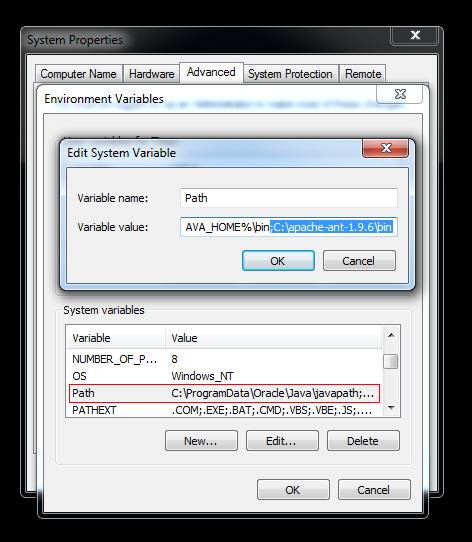
- Add the path to the bin directory of the Ant, for example, ;C:\apache-ant-1.9.6\bin. Again, do not forget the “;”.
- The next step is to install the Android SDK, the API that provides libraries and tools required to build, test and debug Android.
- Download in http://developer.android.com/sdk/index.html#Other, select the .exe (Recommended).
- Once installed, we need to create the variable ANDROID_HOME, necessary for Cordova. Again, open the environment variables from Windows.
- Select Environment Variables.
- Click New.
- In the new window, in the name of the variable place ANDROID_HOME, and in the variable value put the path to the android-sdk folder you just installed, for example: C:\Android\android-sdk. Click OK.
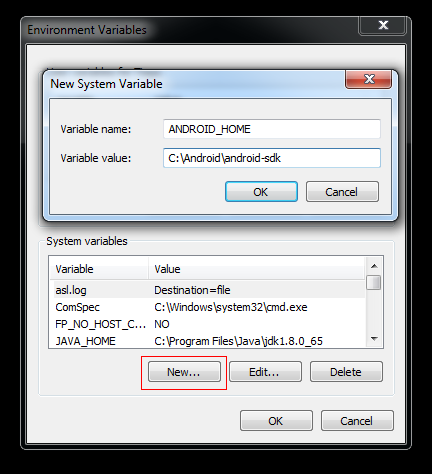
- Returning to the environment variables, select the variable path, and click edit. In the new window in the variable value field, go to the end of the string and add ;%ANDROID_HOME%\tools;%ANDROID_HOME%\platform-tools.
- We’re almost there, now we need to install the android packages. Open SDK Manager.exe file, located inside the android-sdk folder.
- By default the Tools/Android SDK Tools is already installed. If for some reason it is not marked as installed, select it. Also, select Tools/Android SDK Platform-tool, Tools/SDK build-tools (a version above 22), and select the same API version that you selected in the Build Tools. Also mark Extras/Google USB Driver (required to debug directly on the device), and click install.
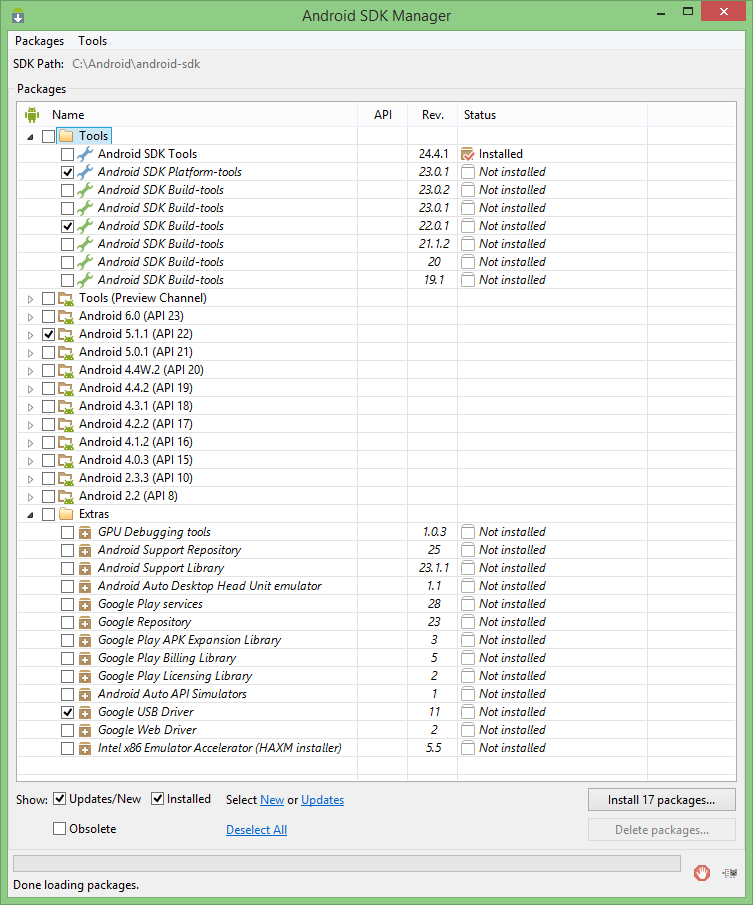
- At the end of the installations our environment is set up.
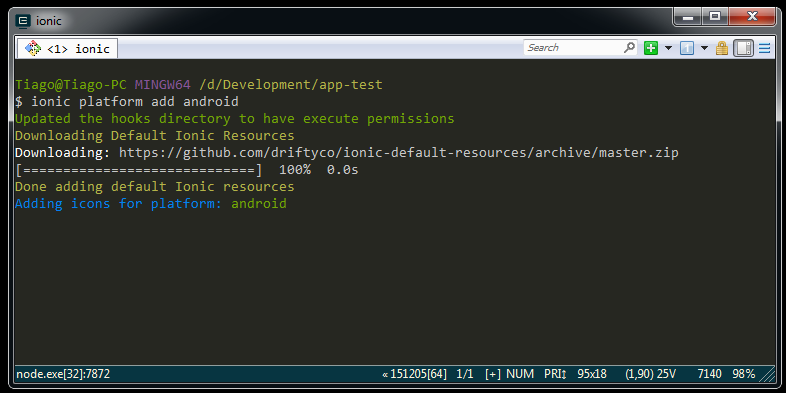
- Let’s do the test. Returning to our application, open the application directory for the terminal and add the android platform.
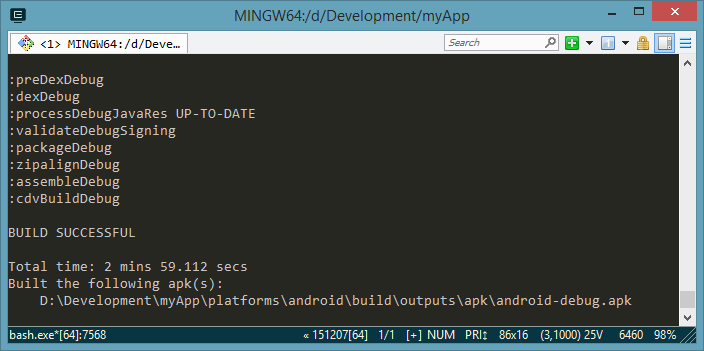
- Let’s build our .apk.. Run
ionic build android- After finishing the process, the path of the generated .apk is displayed in the terminal.
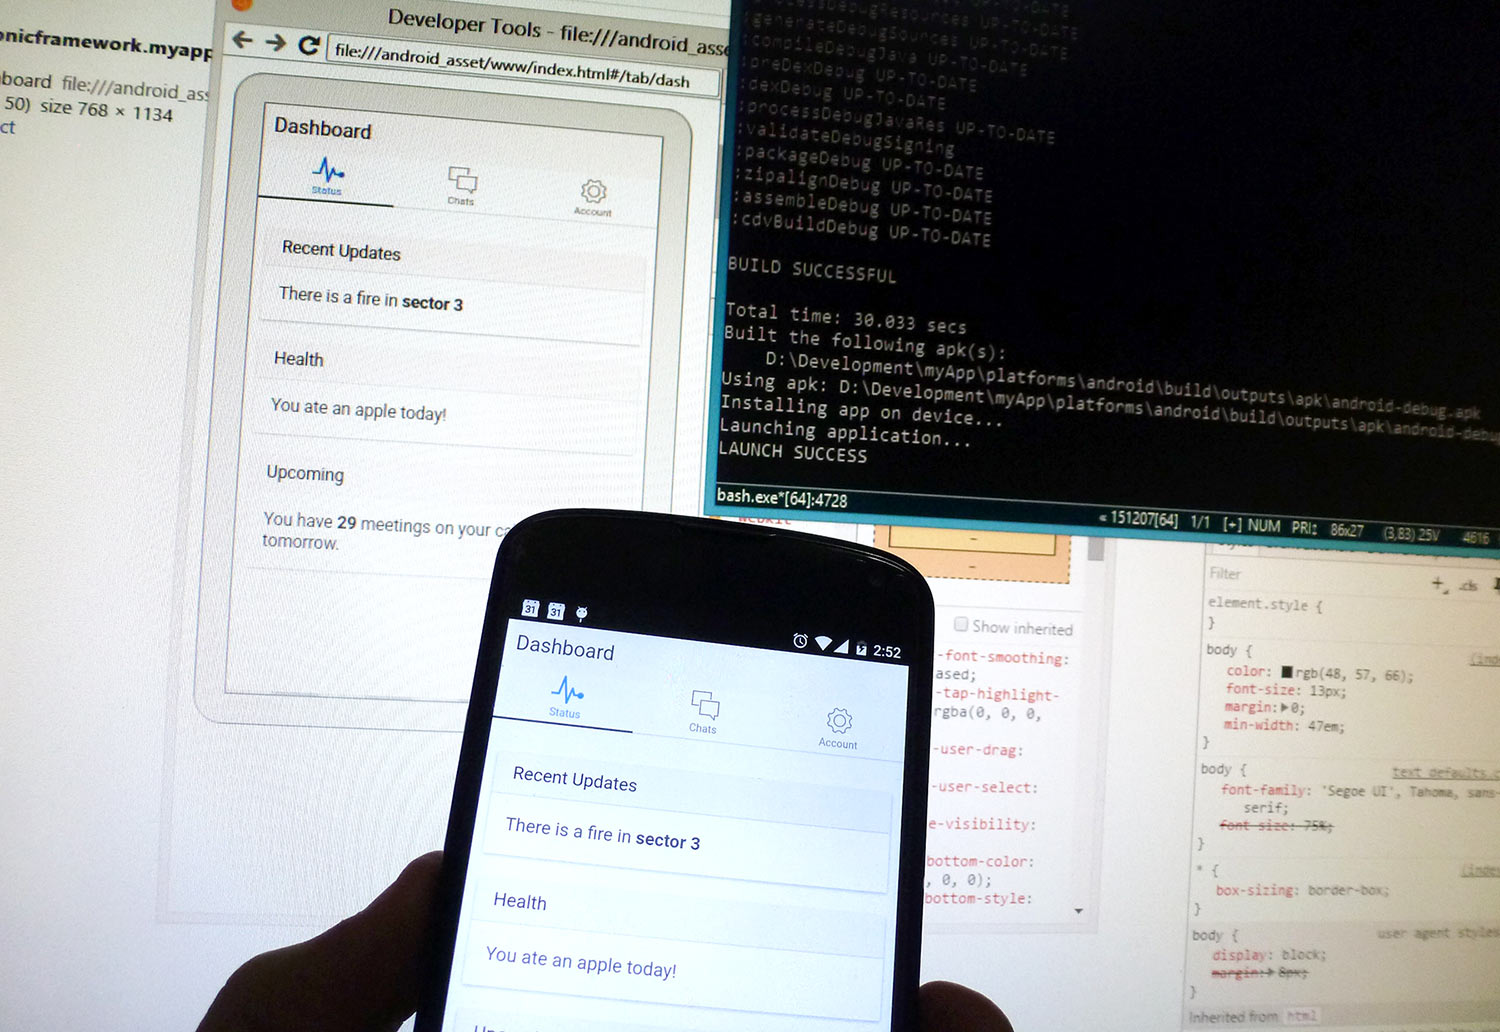
- We can also debug the application directly on the device. Plug the device via USB cable, make sure you have enabled the USB debugging, and run
ionic run android
That’s it, Good luck and good development.
